The Calendar on the Wall
The Calendar on the Wall
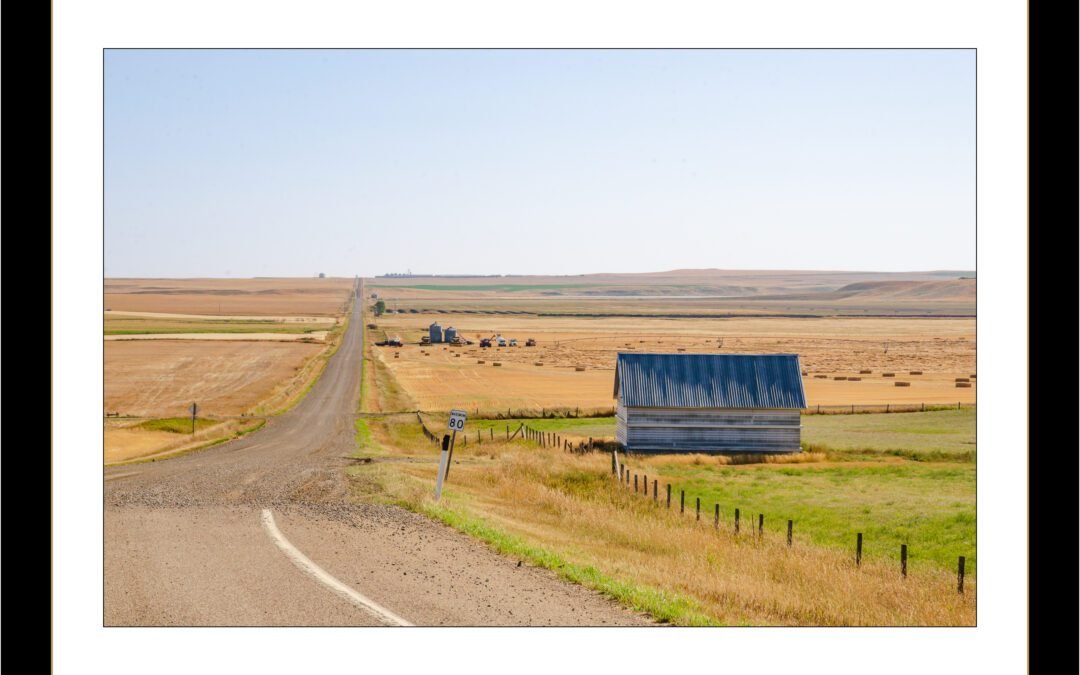
On September 21, 2020, I stopped at the corner of Highway 4 and 506, just north of Warner, Alberta, and looked east. The scene before me — a simple stretch of prairie, the kind you might drive past without much notice — carried more weight than most. I had stood here before in memory, not in person.
Back in the early 1960s, this very view appeared on an Alberta Wheat Pool calendar, either 1963 or 1964. I remember it clearly from my Grade 3–4 classroom in Masinasin, where Miss Miller pointed at the picture and told us proudly it was from our area. At the time, I had no way of knowing I would one day find myself standing in the same spot with a camera in hand, reconnecting with that fragment of my childhood.
The tie runs deeper than memory. My great-grandparents’ farm was at the first intersection east of here, and my mother spent summers there as a child. She would ride the Greyhound bus down from Lethbridge, getting dropped off right at the 506/4 junction. What was for her a gateway to summer on the farm later became, for me, a link between family history and the shared cultural memory of Alberta’s farming past.
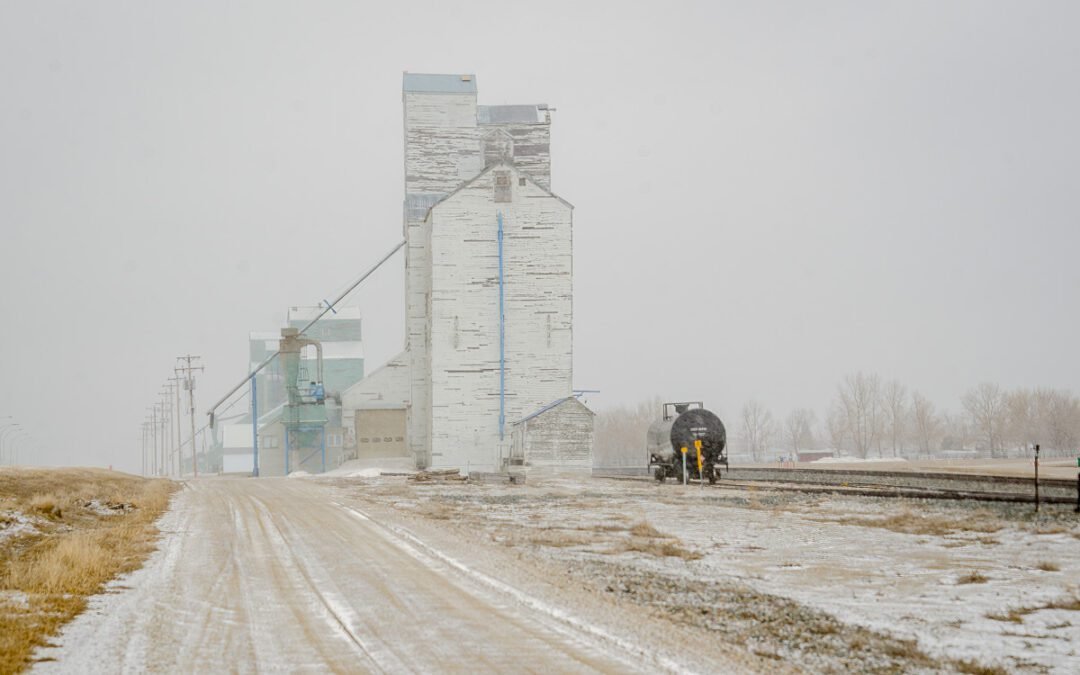
The Alberta Wheat Pool calendars were once staples in prairie homes — free, practical, and filled with images of the land that shaped life across the West. They were more than decoration; they were markers of identity, showing the landscapes farmers knew by heart. Seeing this scene again in 2020, decades after first encountering it on a classroom wall, felt like collapsing time — past and present stitched together by prairie light.
Sometimes a photograph is just a record of a place. Other times, like this, it’s also a bridge between memory, heritage, and the stories we carry forward.
—
See this image and more in my ongoing Photo of the Day series at www.djtphotoart.ca
Sidebar: The Alberta Wheat Pool Calendar
For decades, the Alberta Wheat Pool calendar was a fixture in prairie homes, schools, and farm offices. Each year, the cooperative printed thousands of wall calendars featuring photographs of Alberta landscapes, elevators, and farms — often scenes recognizable to the very people who hung them.
The calendars weren’t just about keeping track of seeding, harvest, or community events. They were a way of reinforcing identity: farmers saw their land, their towns, and their lives reflected back at them. The Wheat Pool, as a farmer-owned cooperative, used these calendars to stay present in everyday life — quietly reminding members that they were part of something bigger than themselves.
For children in small-town schools, the pictures were sometimes their first taste of seeing their own communities “published.” And for adults, they became part of the rhythm of the year — flipped page by page, season by season, until another arrived in the mailbox.
Today, those old calendars have become nostalgic keepsakes, offering not just beautiful photographs but also a glimpse into the cooperative spirit that once defined prairie farming.